Cloud Accelerated Portal
The Cloud Accelerated Portal is comprised of two elements: the sidebar and the pages themselves. The sidebar allows the users to navigate to different pages in the portal by clicking their respective buttons, and each page will have its content in panels. The following pages are available in the portal:
- Home, which redirects to the portal home page.
-
My Account , with contains the subpage:
- Cost Reports , visible only if the user is a DSL Admin
-
Services , which contains information about the four services that are deployed by default with the portal:
- Amazon EC2
- Amazon S3
- Amazon IAM
- Amazon RDS
-
Admin, visible by DSL Admins only.
These services and their capabilities are presented in more details below.
Portal access#
The Cloud-Accelerated Portal is accessible from any web browser. The portal URL is customized with the DSL name and provided with the following format:
https://self-service-portal.*DSL_NAME*.ecdp.dataplatform.tech.ec.europa.eu/
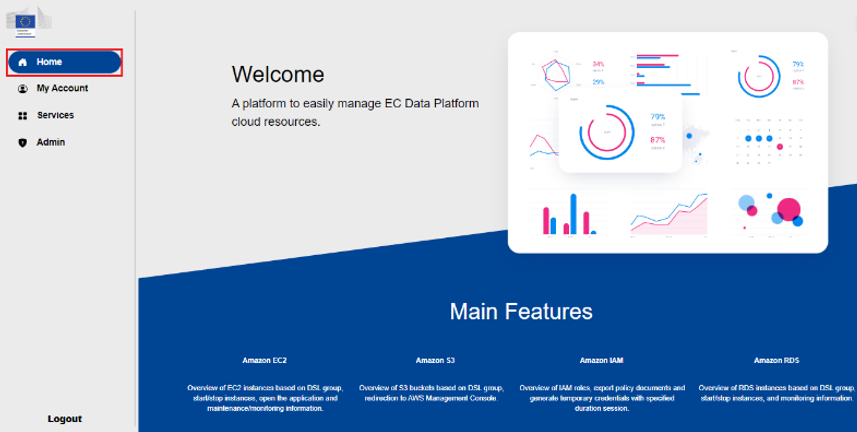
Home page#
When accessing the portal URL, the home page of the portal shows a brief introduction message, and all the available resources can be seen on the left of the page. The user can click on each feature and navigate in the corresponding page.
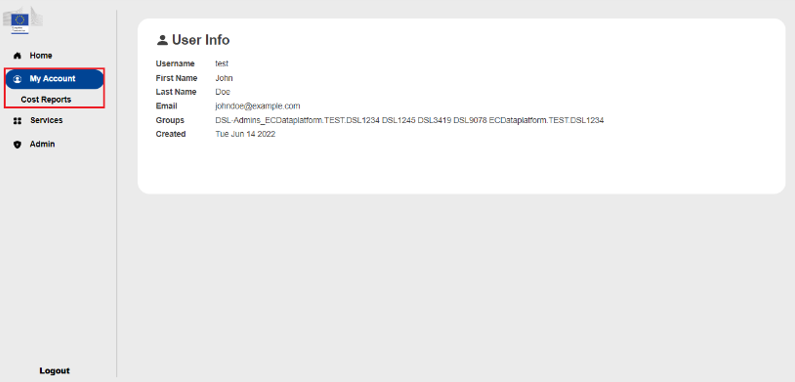
My Account page#
The My Account page contains one panel, the User Info which contains general information about the user (e.g., username, email, groups).
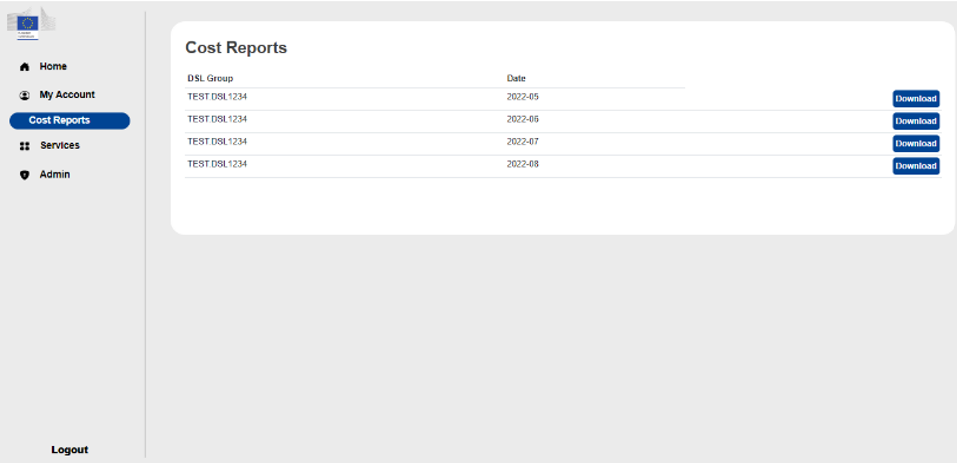
The user can also access the cost reports table under the Cost Reports page, if they are an admin.
My account#
The My Account page contains one panel, the User Info. The User Info panel contains general information about the user (e.g., username, email, groups). The information presented here originates from the information the user has in Keycloak.
The user can see the Cost Reports button on the sidebar only if he is an admin. By pressing it, it gives an overview of the monthly generated cost reports for the DSL groups the user belongs to and download them in a PDF format. The user can download the corresponding reports by clicking the Download button. Every time the button is clicked, a pre-signed URL that has an expiration time of 15 minutes is generated, and every time the page gets refreshed, a new URL is being created so the expiration time is being renewed for another 15 minutes.
Services#
The Services page contains a single panel with a brief introduction on the features presented on the left of the screen.
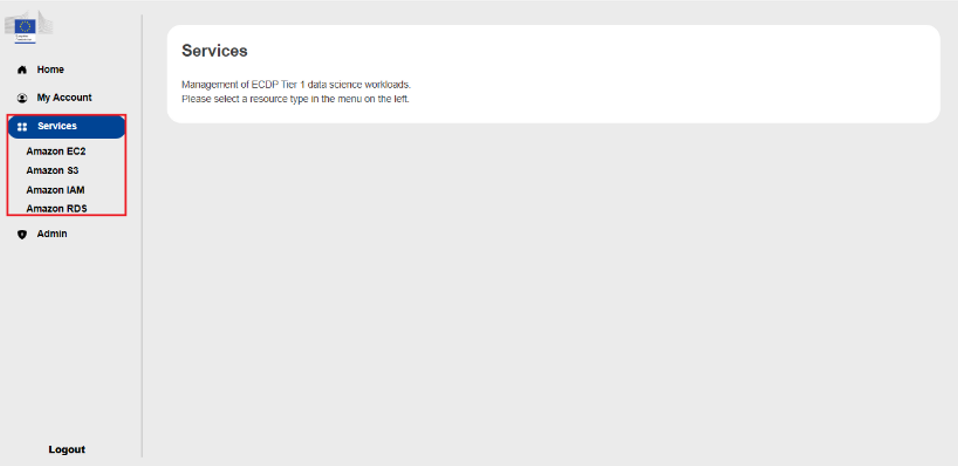
There are four pages under the Services page, one for each of the four services that are by default provisioned via the portal (Amazon EC2, Amazon S3, Amazon IAM and Amazon RDS) will be presented in the following subsections. These allow the use to control and monitor the resources.
Amazon EC2#
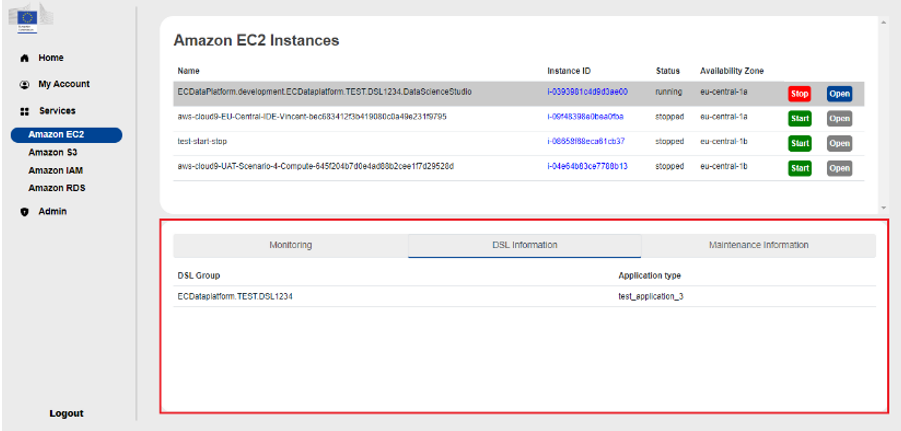
The Amazon EC2 page consists of two panels. The first panel, contains information about the EC2 instances that the user has access to (based on the DSL group that the user belongs to), like the name, the instance ID, the status of the instance (running/stopped) and the availability zone that the instance is deployed in. The user can also start/stop instances by pressing the Start or Stop button.

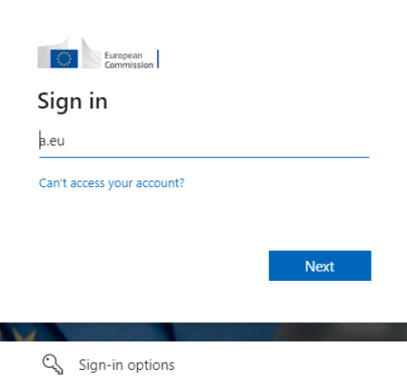
If the instance is running, then the user can open the corresponding application hosted in the instance by pressing the Open button. If the instance is stopped, the Open button cannot be pressed and is greyed out. When clicking on the Open button, the user is redirected to a login page with their EU Azure credentials.
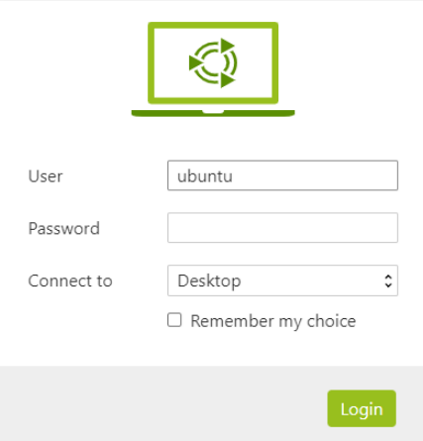
When logged in, there is another redirect to an EC2 login screen. Here the user uses the same credentials as before. Only this time the username is the EC Data Platform username but without the domain (@ec-dataplatform.eu).
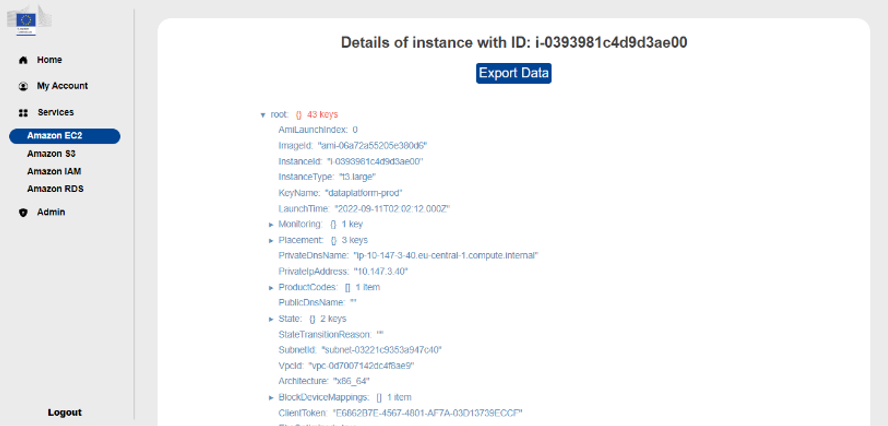
The Instance ID column of the first panel is highlighted, and the user can click on it and get redirected to a new page which contains details for the instance in a nested format. The user can also download the JSON format of the details shown in the page by clicking on the Export Data button.
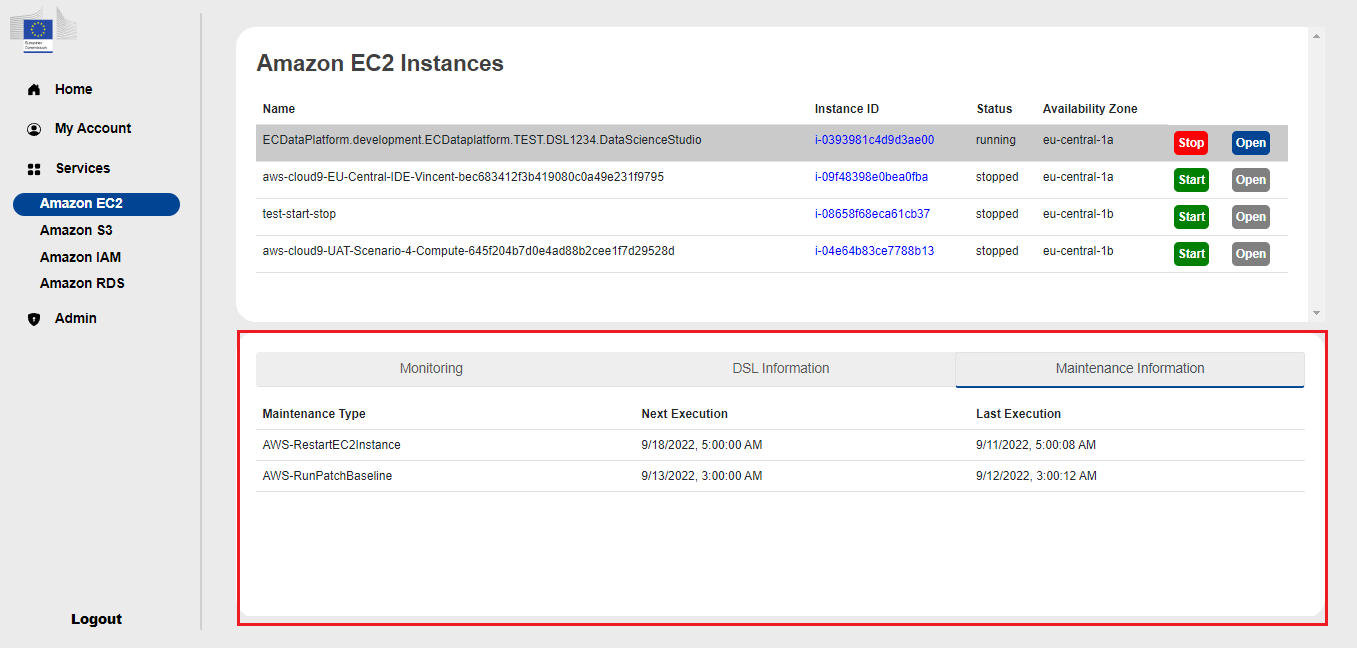
The second EC2 panel contains three tabs. The Monitoring tab includes monitoring information. The metrics shown include CPU Utilization, Memory used, Storage space used, Network, StatusCheck and NetworkPackets.

The DSL Information tab contains information on the DSL group and the application type of the instance.
The Maintenance Information tab contains information about the maintenance type (AWS-RestartEC2Instance and AWS-RunBatchBaseline) and the last / next execution of the maintenance patch.
Amazon S3#
The Amazon S3 page consists of one panel. The panel contains information about the S3 buckets that the user has access to (based on the DSL group that the user belongs to), like the name, the project that the bucket belongs to (retrieved from the tag of the bucket), the number of objects the bucket contains, and an average size of the bucket.
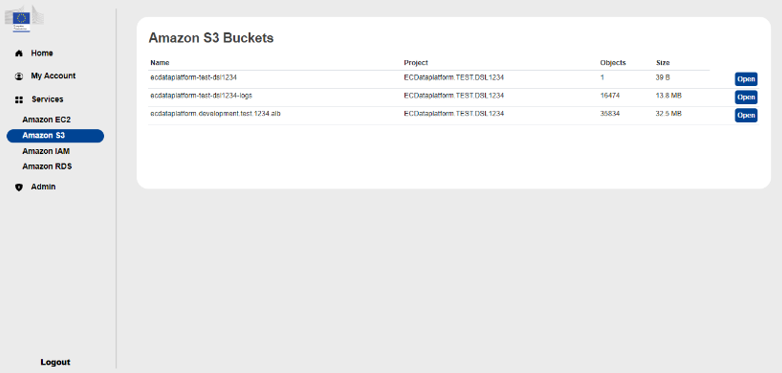
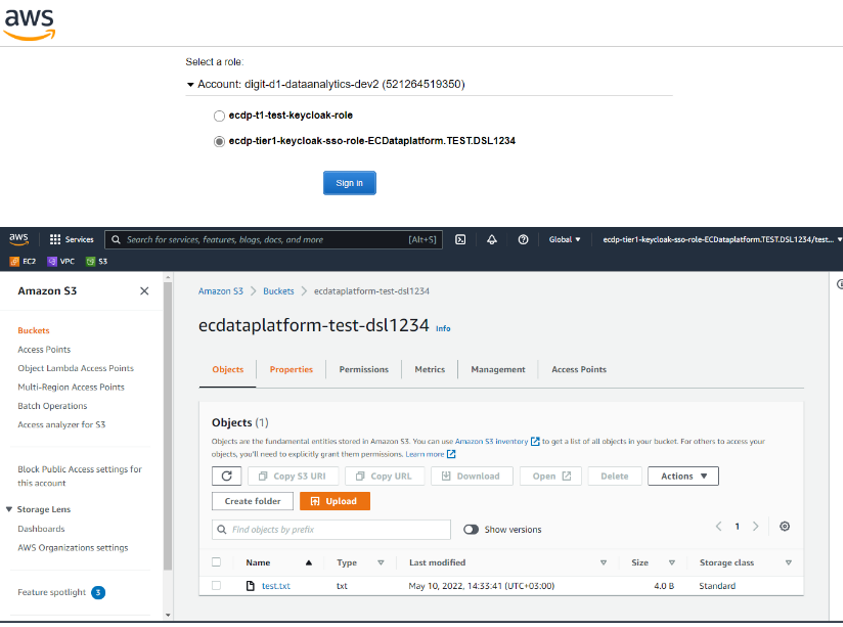
The user can click on the Open button and will be redirected using SSO integration to choose a corresponding IAM role and then to the AWS Console where he only has access to the specific bucket.
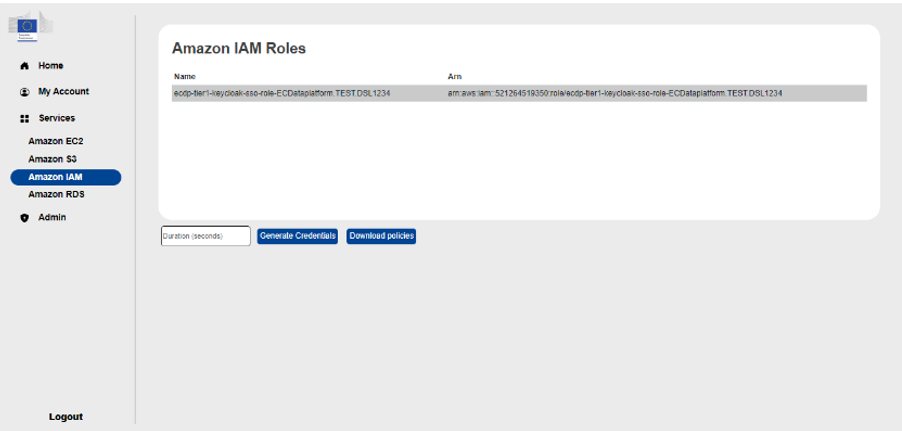
Amazon IAM#
The Amazon IAM page consists of one panel. The panel contains information about the IAM Roles that the user has been assigned from the AWS Console. Below the panel, there are two buttons. The first one, Generate Credentials, generates temporary credentials using the sts:AssumeRole method. The user can also specify a session duration in the Duration (seconds) field, or leave it blank which generates the credentials for 3600 seconds (1 hour) by default. The second button, Download policies, gives the user the ability to download the policy document of the policies that correspond to the selected IAM Role in a JSON format and review the permissions assigned.
Amazon RDS#
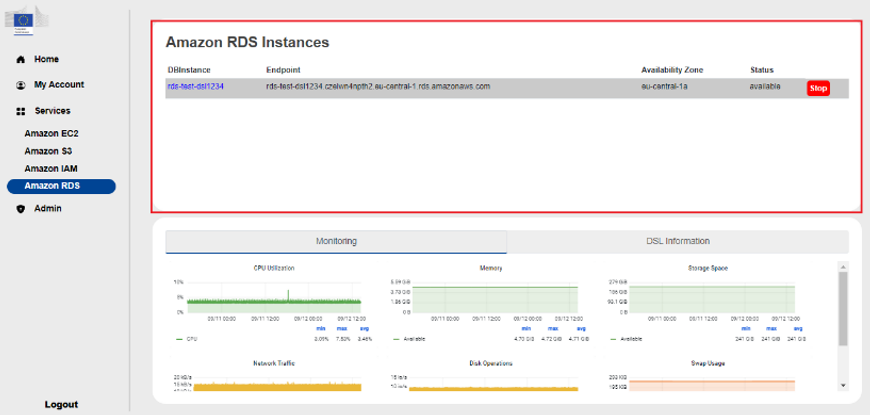
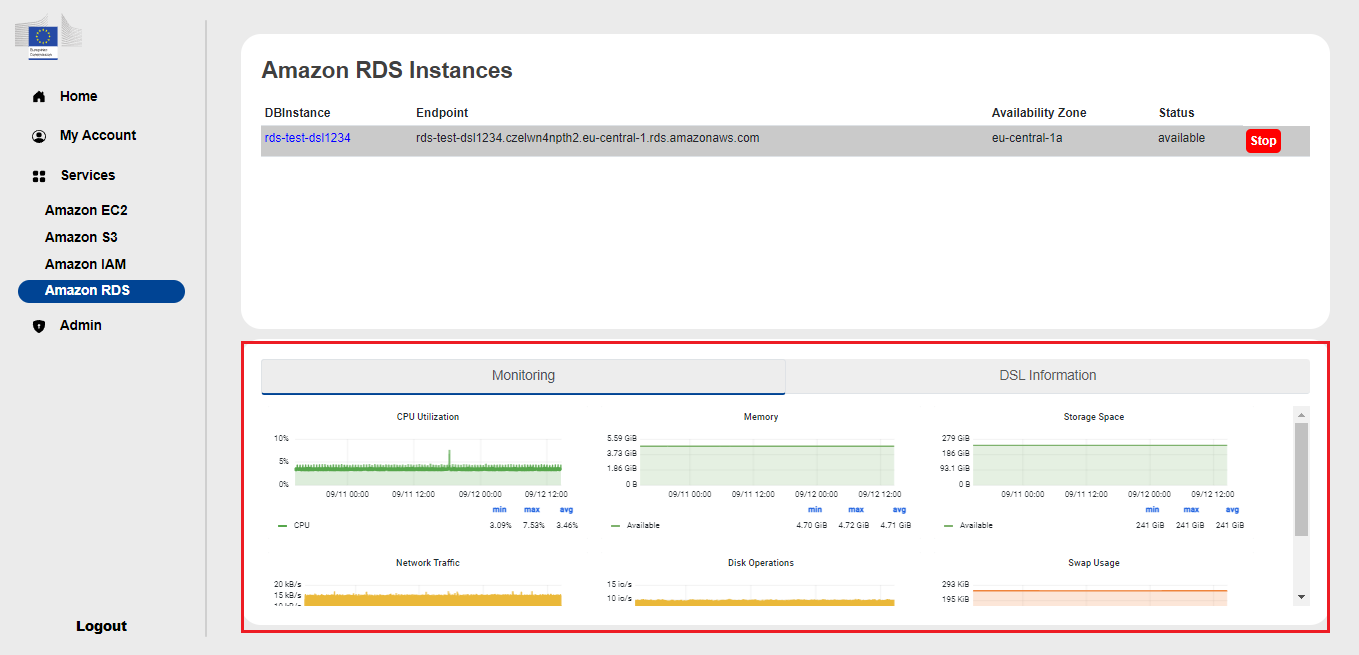
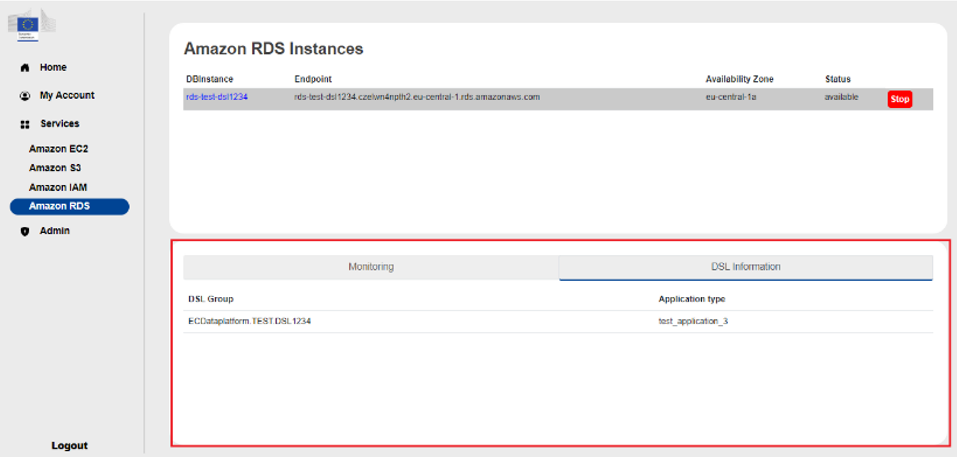
The Amazon RDS page consists of two panels. The first panel contains information about the RDS instances that the user has access to (based on the DSL group that the user belongs to), like the name, the endpoint, the availability zone that the instance is deployed in and the status of the instance (available/stopped). The user also has the capability of starting/stopping instances by pressing the Start or Stop button.
The DBInstance column of the first panel is highlighted, and the user can click on it and get redirected to a new page which contains details for the instance in a nested format. The user can also download the JSON format of the details shown in the page by clicking on the Export Data button.

The second panel contains two tabs. The Monitoring tab includes monitoring information. The metrics shown include CPU Utilization, Memory, Storage space, Network Traffic, Disk Operations and Swap Usage.
The DSL Information tab contains information of the DSL group and the application type of the instance.
Admin#
The Admin page can only be seen by admin users, and it has two panels. The first is User Management where admins can add or remove users from DSLs.
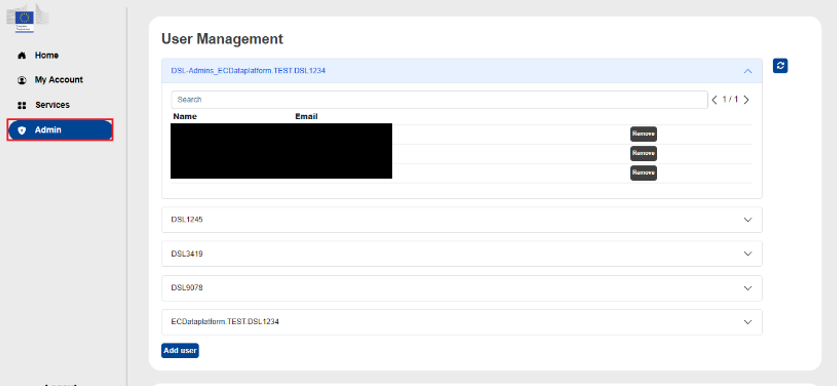
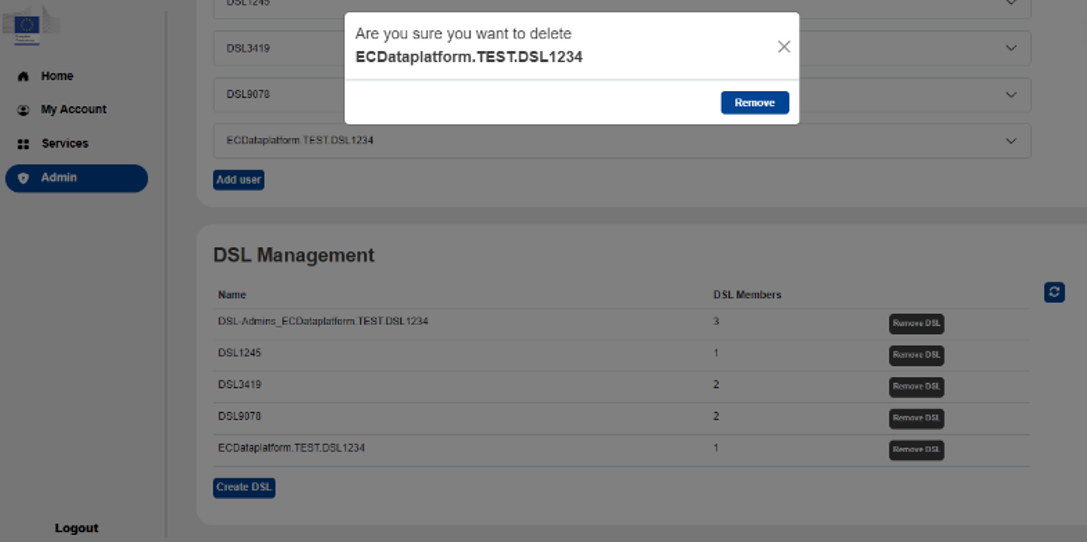
The second is DSL Management where DSL admins can create or remove DSL groups in Keycloak.
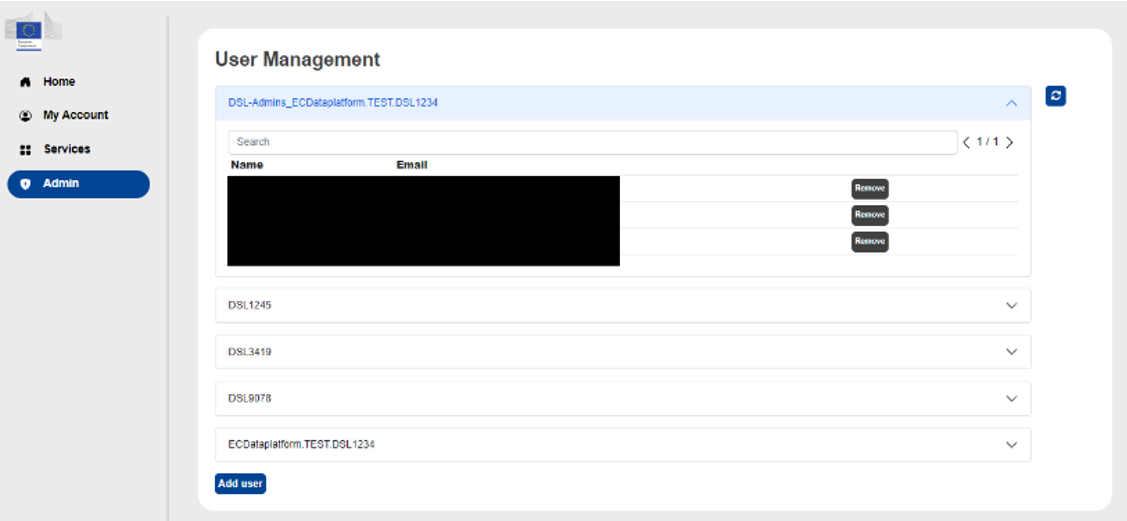
Admin functionalities#
The admin page is only available for admins. The admin will be able to assign or remove users from DSLs they belong to. The admin will see a table of all the users for each DSL the admin belongs to. To navigate through the list of users, the admin can use the search feature as well as the minimize feature (by clicking on the DSL it will minimize).
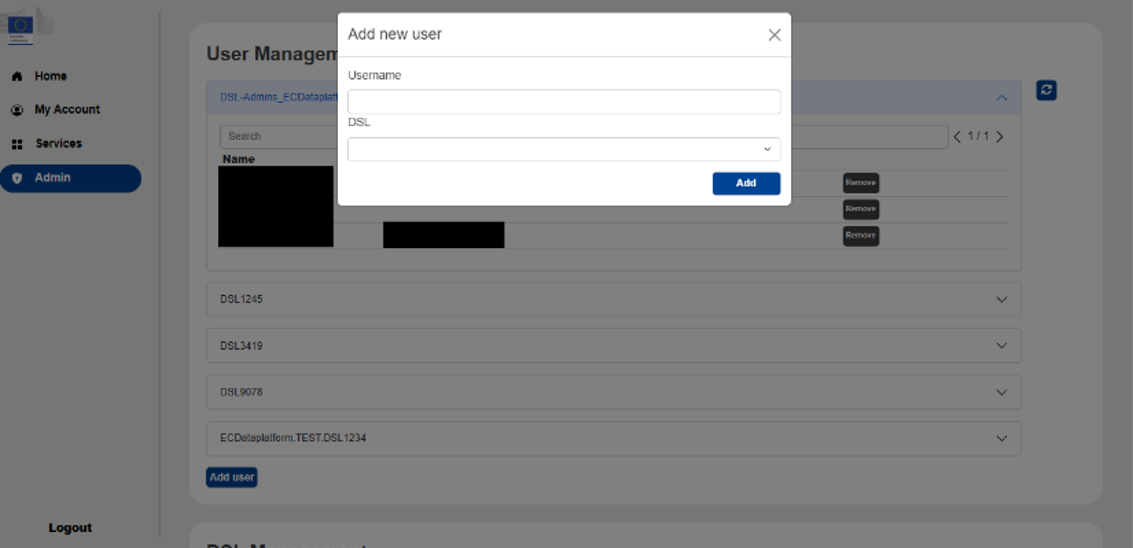
To add a user, press the Add user button on the bottom of the User Management panel. A popup will appear where the admin can specify the user they want to add and the DSL group they will be added to. Note, the admin must use the user’s username exactly, there is no autosuggestion, and the user needs to be already existing in Keycloak.
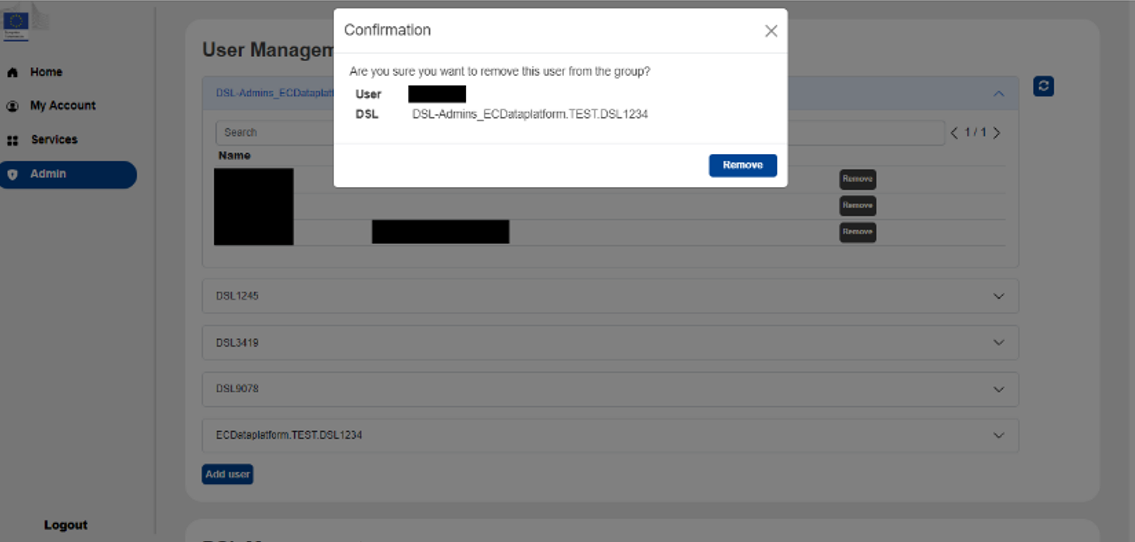
To remove a user from a DSL group, the admin can click on the Remove button next to the listed user they want to remove under the DSL they want to remove the user from. The admin will then be prompted if they are sure they want to remove the user.
A DSL admin will also be able to see a second panel, the DSL management where the admin will be able to create and remove DSL groups in Keycloak and also see the number of members included in each DSL group.
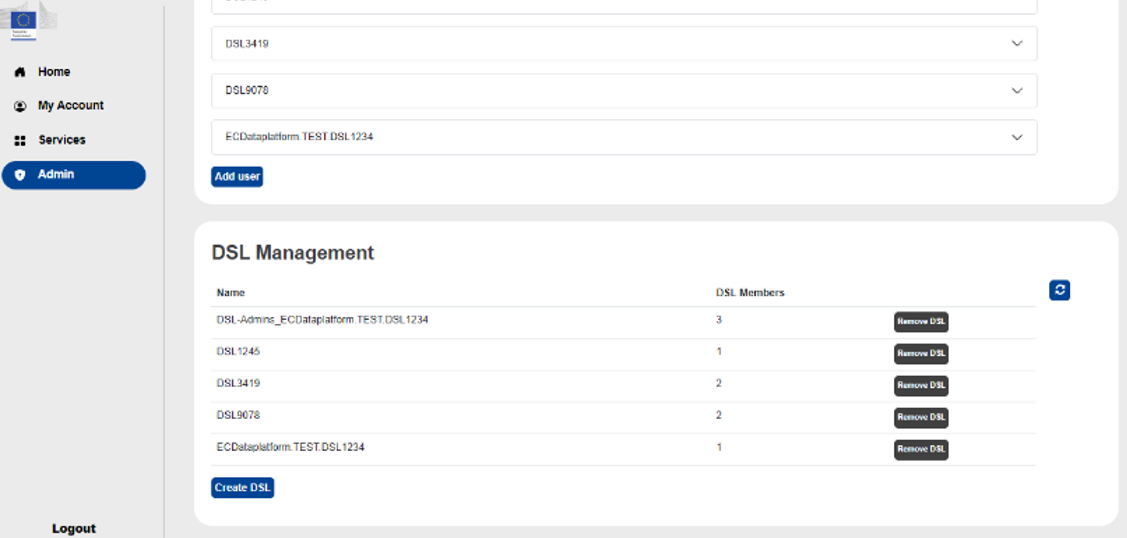
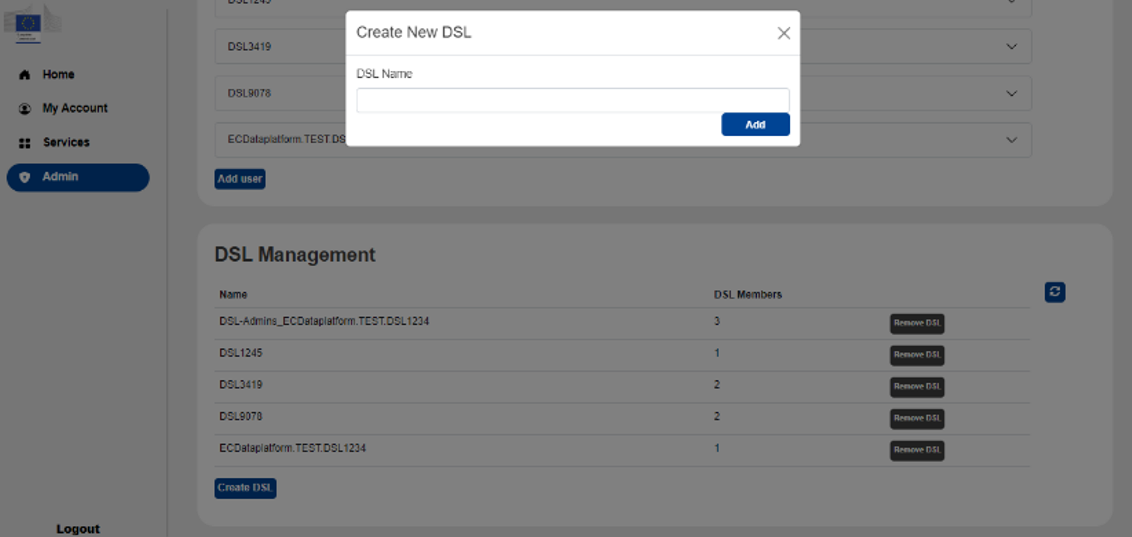
To create a DSL group in Keycloak, press the Create DSL button below the DSL Management panel. A popup will appear where the admin can specify the name of the new DSL group. Note that the admin is automatically added to the new DSL group.
To remove a DSL group, click on the Remove DSL button next to the listed DSL group they want to remove. The admin will then be prompted if they are sure they want to remove DSL group.